
What Is a Reference Image? Choosing 5 References for AI
A reference image shows an AI model what words can't. How references differ from prompts, what carries over into the result, and how to pick five by role.
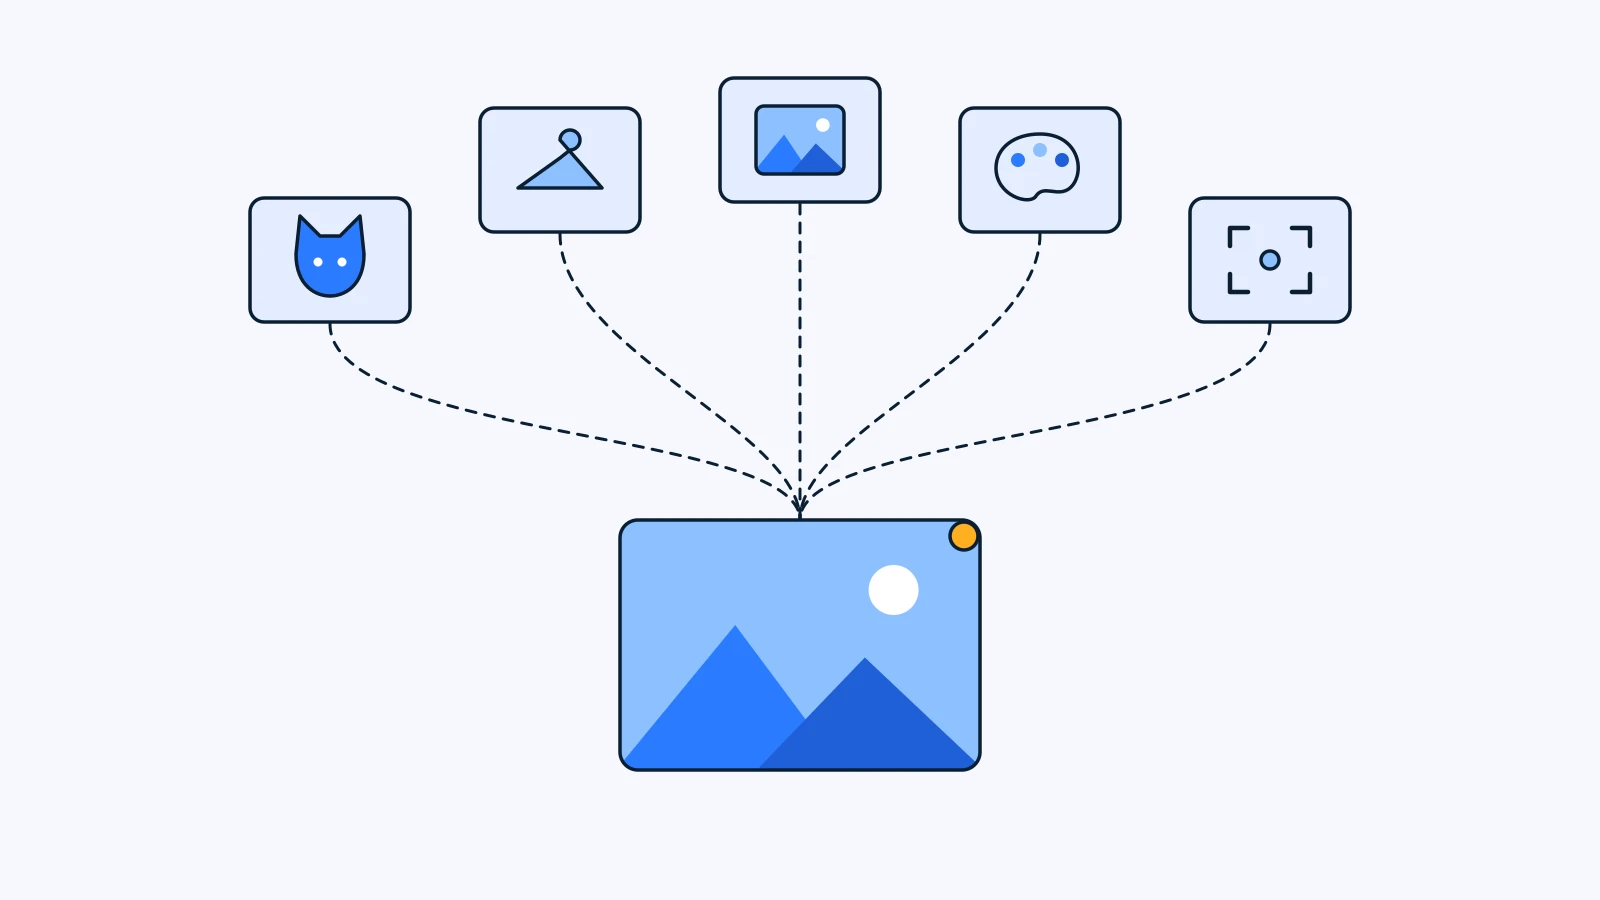
A reference image is a picture you attach to a prompt when you generate an AI image or video. It shows the model what is hard to put into words, such as a face, the exact shape of a product or a color palette. More references are not better. What matters is that each one has a single, clear job.
Key Takeaways
- A reference shows; a prompt tells. Use photos for what is hard to describe, like how someone looks. Use words for the scene and the direction.
- The photo carries identity; the prompt sets the scene. Whether the reference’s pose and background come along, or only the identity, is something you write into the prompt.
- Give each image one job. Decide whether it is there for the subject, the outfit or prop, the location, the style and color, or the composition.
- Conflicting references blur the result. Two accurate photos beat five photos that disagree on color.
- In YouViCo you pick up to 5 files from the project as references. The result comes back as a project file, with a record of which references were used.
How is a reference image different from a prompt?
A prompt is text; a reference is a picture. Both tell the model what to make, but they are good at carrying different information.
Write “small brown dog with folded ears” and the model draws one of countless dogs that fit. Getting your own dog’s eyes or coat markings into words is close to impossible. The opposite is also true: “a moment from an early-2000s school drama, sitting at a classroom desk, looking toward the teacher” is hard to show in one photo and far easier to write.
So the rule is simple. Show the things that exist only once, like who or what. Describe the things that need to be made up, like where and what is happening.
| Information | Carried better by | Example |
|---|---|---|
| Face, coat color, breed, build | Reference | A pet photo, your own selfie |
| A product’s real shape and logo placement | Reference | A straight-on product shot |
| Brand colors and textures | Reference | A past piece with a clear palette |
| Place, situation, action | Prompt | ”A snapshot from ground level in a cosmos field” |
| Expression, gaze, camera angle | Prompt | ”The moment it looks up at the camera” |
| Aspect ratio, things to avoid | Prompt | ”Vertical 3:4, no text or logos” |
What carries over, and what doesn’t?
If you add a reference and the living-room background from the original shows up in the result, or the face looks nothing like the photo, the prompt usually never said how the work is split. The model has no way to know which part of the photo you wanted.
Most Prompts guides on this blog that start from a pet or person photo settle this in the first sentence of the prompt. Here is how the prompt in the Louie Y2K drama guide opens:
Use the uploaded pet photo only for identity: face, fur color, breed, ear shape, eyes. Do not copy the original pose, gaze, angle, expression, or background.
Identity comes from the photo; the scene comes from the prompt.
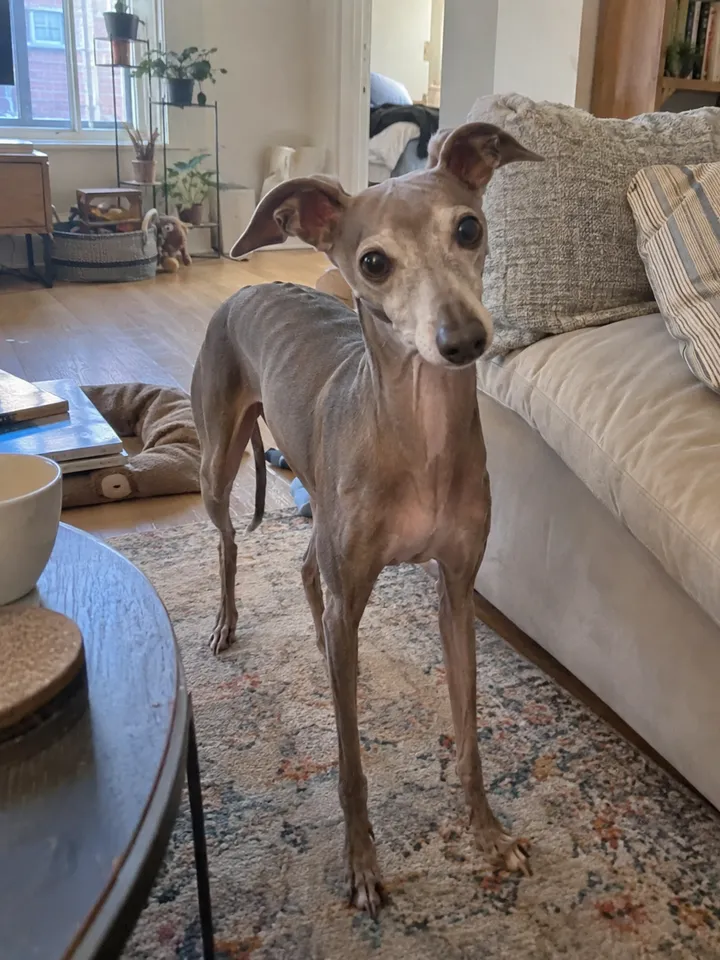
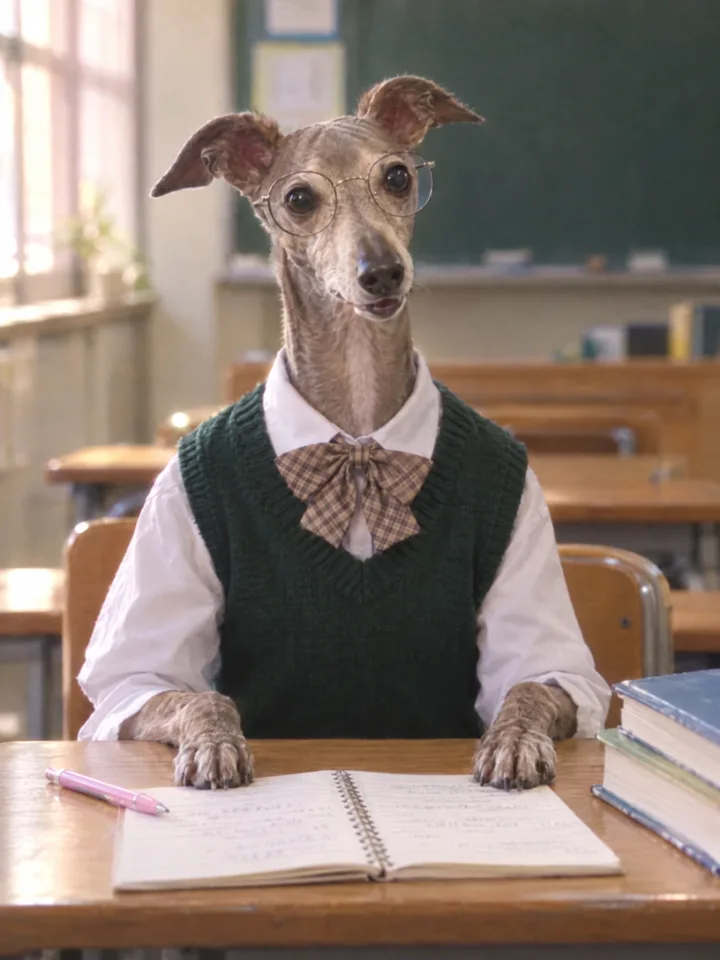
Those two images are the result. The original is an ordinary shot of the dog standing on a rug at home. In the result only the look and the coat remain; the pose, the background, the uniform and the glasses were all set by the prompt. The cosmos field pet photo guide follows the same rule, so a photo from a walk and a photo on the sofa both end up in the same field of flowers.
People work the same way. The mother-of-pearl screen portrait guide takes only facial identity, such as face shape, eyes and skin tone, from a selfie, and says separately that the mother-of-pearl texture must not spread onto the face. Results get steadier when the prompt states both what to take from a reference and what to leave behind.
In practice, whenever you attach a reference, write two lines into the prompt:
- What to take from this photo: the face, the coat color, the product’s shape, the color palette.
- What not to copy: the pose, the background, the lighting, the original framing.
Using several references: one job per image
If you use several references, give each one a single job. Five jobs cover most work.
| Job | What goes in | How to choose | What to say in the prompt |
|---|---|---|---|
| Subject | A person, pet or character | Face large and well lit, true-to-life color | ”Use only the face and coat from the first image” |
| Outfit or prop | Clothing, a product, a bag | Plain background, whole shape visible | ”Keep the bag’s shape from the second image” |
| Location | A store, a street, a room | A wide shot that shows the layout | ”Use the layout of the third image as the background” |
| Style and color | A past piece, a mood shot | One image with consistent color and texture | ”Use only the color and texture of the fourth image” |
| Composition | An example of the angle you want | Clear subject position and camera height | ”Use only the framing of the fifth image” |
Pointing to each image by order or by file name in the prompt makes the jobs clearer. If you name files by job, like hero_face.jpg or bag_front.jpg, it is easier to write the prompt and easier for a teammate to read the record later.
Pick the subject first. It is usually the one thing the result cannot get wrong. Add the outfit or prop and then the location only when you need them. If you can describe the style and composition well in words, you don’t need photos for them at all.
Are more references better?
No. When references disagree, the model lands somewhere between them. Put a warm film-look photo and a cool studio photo together as style references and you can end up with a muddy color that is neither. Give the model the same person in three photos with very different lighting and the impression of the face can drift.
The usual conflicts:
- Style references that disagree on color or texture
- A subject photo with a busy background or another person in it
- A location photo that doesn’t match the place the prompt describes
- A reference composition that contradicts the camera direction in the prompt
The principle is fewer and more precise. Start with one image, look at the result, work out what is missing, then add one image for that job. The FAQ in the Louie guide works the same way: if the face doesn’t look quite right, add one more photo with a larger, well-lit face and generate again. You reinforce only the job that failed.
If you like the result overall and only one area is off, it is usually faster to fix that area with spot AI image editing than to swap references and regenerate.
Choosing references for brand work
In brand work, references are not a matter of taste. They are how you hand the team’s agreed standard to the model. Three kinds are worth keeping ready:
- Product shot. A straight-on photo on a plain background that shows the shape, logo placement and material accurately. The product is the subject the result must not get wrong, so it goes in first.
- Palette frame. One representative shot that shows the brand colors and lighting. Pick the single best one rather than collecting several, and give it the style job.
- Last approved version. A piece the client or your team has already signed off on. It keeps the next draft from drifting away from what was agreed.
Also check whose photo each reference is. Use photos you shot, photos the client supplied, or photos you have confirmed you may use, and note the source so it is easy to check again before delivery.
Adding references in YouViCo
In YouViCo you pick references from files in the project.
- Upload the photos you want to use as references to the project. If a product shot or an approved version is already there, use it as is.
- Click New file and choose AI. It sits in the same menu as Upload and YouTube link.
- Choose the output type (image or video) and a model.
- Under References, add up to 5 files from the project.
- Paste a prompt that states each image’s job, check the maximum credit estimate shown before generating, then generate.
The AI reads the reference files before it makes a single pixel. The files you have gathered in the project effectively become part of the prompt. Why it was built this way is explained in How AI generation in YouViCo is designed.
The result comes back as an ordinary project file. You can add comments and a status to it like any upload, and the generation block in its file info records the prompt, the model and the reference files that were used. When a teammate asks which photos it was made from, the answer is in the record, and you can start the next draft from the recipe of a result you liked.
AI generation is available from the Standard plan.
FAQ
Is a reference image the same as image-to-image?
They overlap, but not quite. Image-to-image usually means building a new image on the composition and shapes of the one you put in. “Reference” is more often used when you want the model to take only certain things, like a face or a palette. Either way, the prompt should say what to take and what to change.
How many reference images should I use?
There is no fixed number, but starting with one is a good habit. Look at the result and add one image at a time, only for a job that is missing. YouViCo lets you attach up to 5 project files as references, and you don’t need to fill all five.
Can I use someone else’s photo as a reference?
Rights differ from photo to photo, so there is no single answer. The safe choice is photos you took, photos a client supplied, or photos you have confirmed you may use. Use photos of real people only if they are of you or the person has agreed, and for anything commercial, keep a record of sources and check with an expert when needed.
How do I keep the same face across several shots?
Keep using the same subject photo, one with a large, well-lit face, and tell the prompt to take identity only. Locking a face across shots with a character sheet is a topic for a separate post.
My reference’s background keeps showing up in the result.
The prompt usually lacks a line telling the model not to copy the original pose, background and framing. State in the first sentence what to take and what to leave, and if the photo has a busy background, try a different one where the subject fills more of the frame.