
Become the lead of a romance webtoon: a selfie prompt
One selfie in, and you are the lead of a romance webtoon. A prompt that draws you in vertical-webtoon panel staging, plus how to add speech bubbles afterwards in YouViCo's design editor.
- Model
- YouViCo AI generation · New file ▸ AI, output format Image + design editing
- Difficulty
- Beginner
- Time
- 10 min, plus a minute or two per image
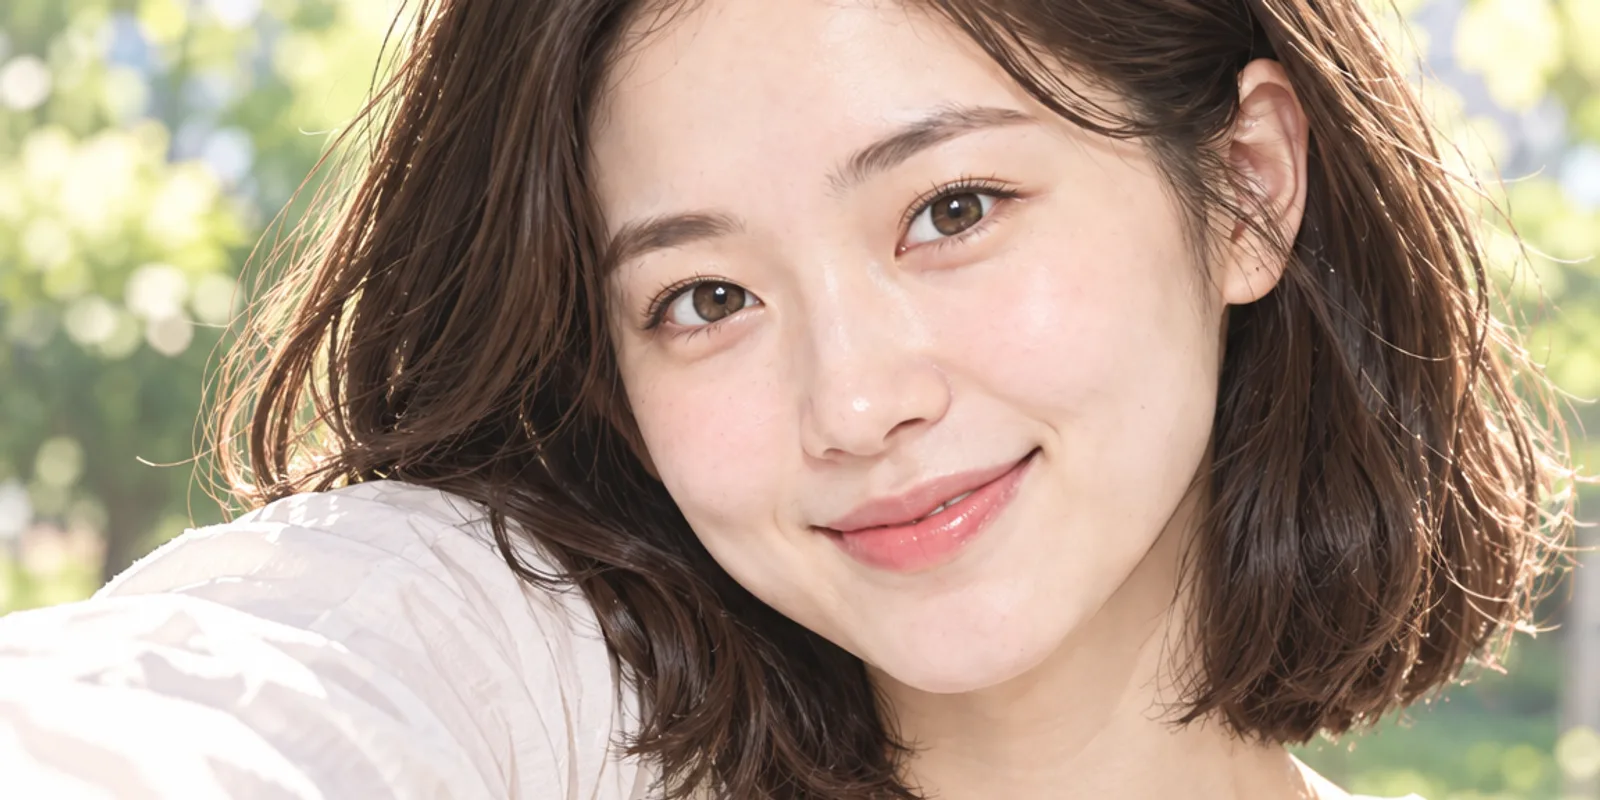
Before and after
One photo in, one still out. Same prompt every time.
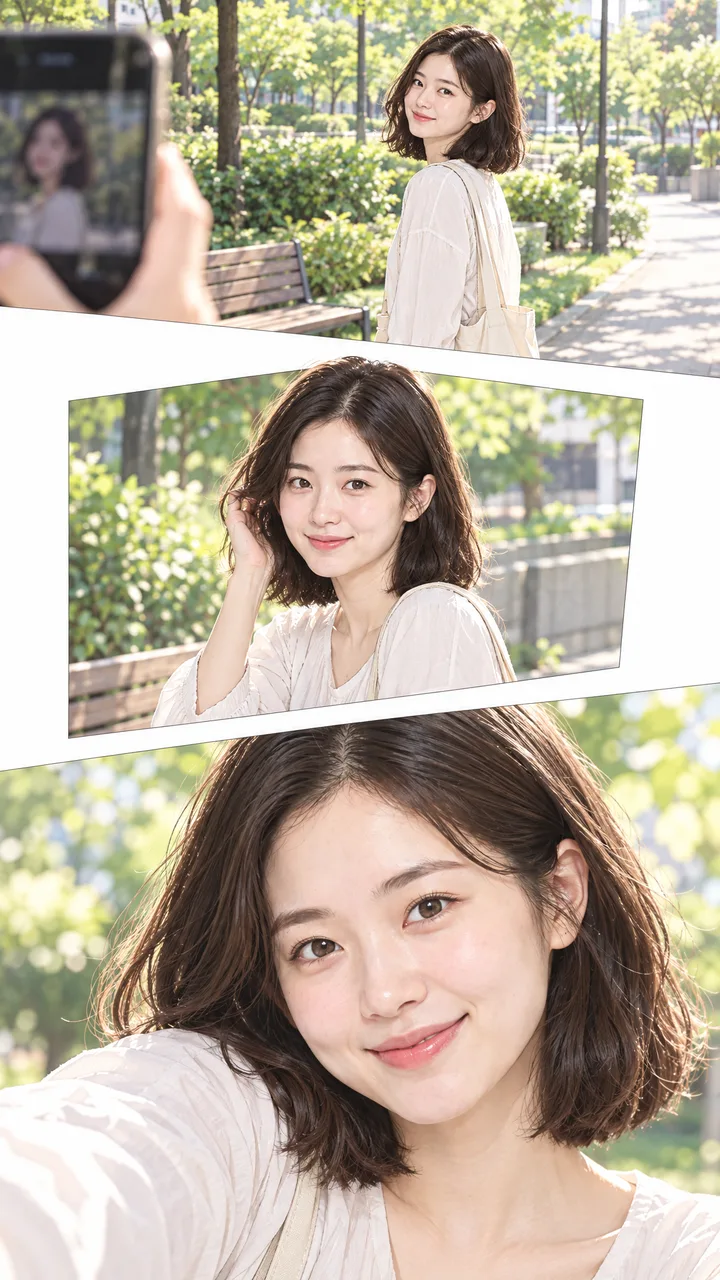
Result Straight out of generation. The prompt leaves bubbles and text out on purpose.
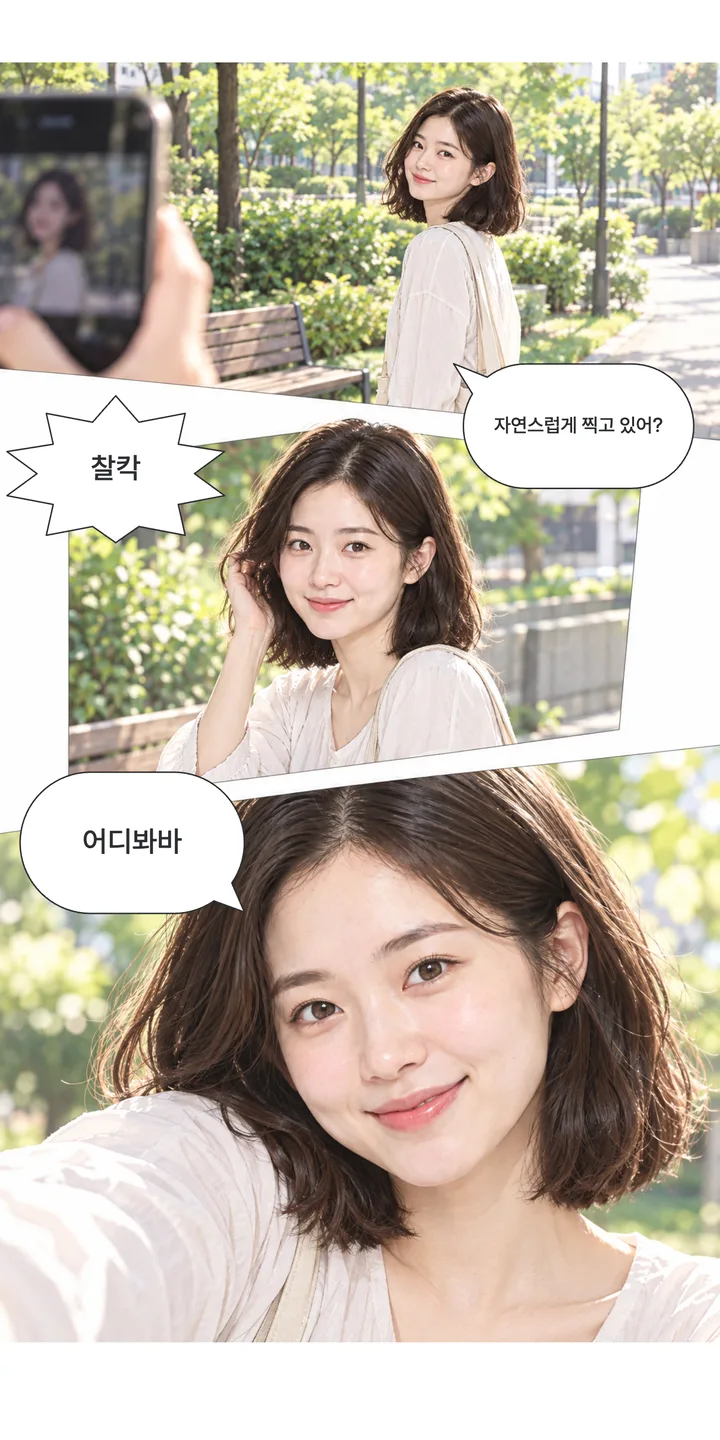
Result After adding speech bubbles and a sound effect in YouViCo's design editor.
What you need
Prepare these before you start. Slot names map to the placeholders in the prompt.
One selfie of yourself
photoA photo where your facial features and hairstyle are clear. The original pose, background, and composition are not carried over. Use a photo of yourself only.
One selfie in, and you are the lead of a romance webtoon.
Generate the image, then add only the speech bubbles you want in YouViCo’s design editor, and you have your own webtoon panel. Write the line you always wanted to hear and become the lead.
What we are making
An image that reads like part of an episode of a vertical Korean webtoon. A big wide panel, a medium panel for the expression, and finally the largest emotional close-up. Between panels sits the generous vertical white space webtoons are known for, and the staging is bold: a phone large in the foreground, a figure cut by the frame edge.
The prompt deliberately leaves out every bubble and letter. Generation models spell badly, and you want to choose the lines anyway. Text goes on afterwards in YouViCo’s design editor. The second image above was made exactly that way.
Three steps
Step 1. Upload one selfie
Upload a selfie of yourself to a YouViCo project. Clear facial features and hairstyle are all that matter; the prompt sets the pose and background.
Step 2. Choose Image in New file ▸ AI and paste the prompt
Click New file, then the AI tab. Set Output format to Image, pick a model, add the selfie under References, paste the prompt below, and create. Panel layouts differ every run, so generate two or three and keep the one whose flow reads most naturally.
Step 3. Add speech bubbles in the design editor
Open the result you like in YouViCo’s design editor. Put bubbles and a sound effect (“click”) on the panels you want, and write the line you wanted to hear. Use the empty space the prompt left for exactly this.
Use the uploaded portrait photo only as an identity reference for the lead character. Keep the facial features and hairstyle recognizable, but do not copy the original photo's pose, background, or composition.

What matters most is not the story but webtoon-style panel staging.

Compose the image like a vertical Korean webtoon that reads naturally from top to bottom. Do not line up small rectangular panels in a regular grid; make active use of size contrast between large and small panels, wide margins, close-ups, eye movement, and scene transitions.

Keep the panel structure simple, around three scenes.

The first scene is a large wide panel that establishes the situation: the lead being photographed in an everyday place such as a park, a street, or in front of a cafe. The hand or smartphone of the person taking the photo may enter at one side of the frame.

The second scene is a medium-sized panel showing the lead's expression: the moment she becomes aware of the camera and smiles a little awkwardly or settles into a natural pose. Show the face large enough, frontal or at a three-quarter angle.

The last scene is the emotional close-up, used largest of all: the instant the shutter fires, the lead smiling naturally or looking at the camera with a lovable expression, shown big.

Leave the generous vertical white space typical of Korean webtoons between panels.

Each scene must differ in frame size and viewpoint, building a flow where the emotion comes steadily closer: wide → medium → close-up. If needed, tilt a panel slightly, crop the figure partly out of the frame, or place the camera large in the foreground, using the bold compositions typical of webtoons.

Keep the art style at the level of a bright, friendly contemporary Korean slice-of-life webtoon. Clean lines and soft colors, without imitating any specific work.

Do not include any speech bubbles, dialogue, captions, sound effects, or lettering.

The point is not the person being photographed as such, but staging that moment the way a webtoon would.

It must not look like three plain illustrations; it should look like part of an actual episode of a vertical Korean webtoon.

Portrait 9:16. Large panels first. Panel size variation is required. Wide margins are required. The wide → medium → close-up flow is required.
Tips before you run it
- Your own photo only. Making someone else the lead of a webtoon from their photo is a likeness problem. If you want to do this with a friend, each of you uses your own selfie.
- Why the prompt bans text. Generated lettering is mostly broken and you cannot choose the font. Reserve the space and add the text in the design editor; the result is far better.
- Choose by flow. A frame where the emotion moves closer, wide to medium to close-up, reads like a webtoon. Discard results where all three panels are the same size.
- If the face is off, change the selfie. A near-frontal, well-lit selfie keeps identity best.
- Adjust the style sentence to taste. “Bright, friendly contemporary Korean slice-of-life webtoon” can be changed, but do not name a specific work or artist.
- The ratio is 9:16. It fits Instagram Stories and Reels covers as is.
Frequently asked questions
Can I make a single panel instead of three?
Yes. Replace the “around three scenes” paragraph with “a single emotional close-up panel,” and keep the sentences about margins and leaving space for bubbles.
Where do the bubbles go?
In the white space between panels, or in the sky or background where they do not cover the face. As in the example above, a sound effect in a panel corner and the line next to the expression panel gives a natural reading order.
Make your own version
Open your project in YouViCo, attach the references, paste the prompt, and share what you make.